Quick Tour
A guided walkthrough of SiteWhiz's main features.
Welcome to SiteWhiz
This tour covers the essential features to get you productive quickly:
- Navigating projects
- Creating and managing items
- Working with documents
- Using the AI Assistant
- Generating reports
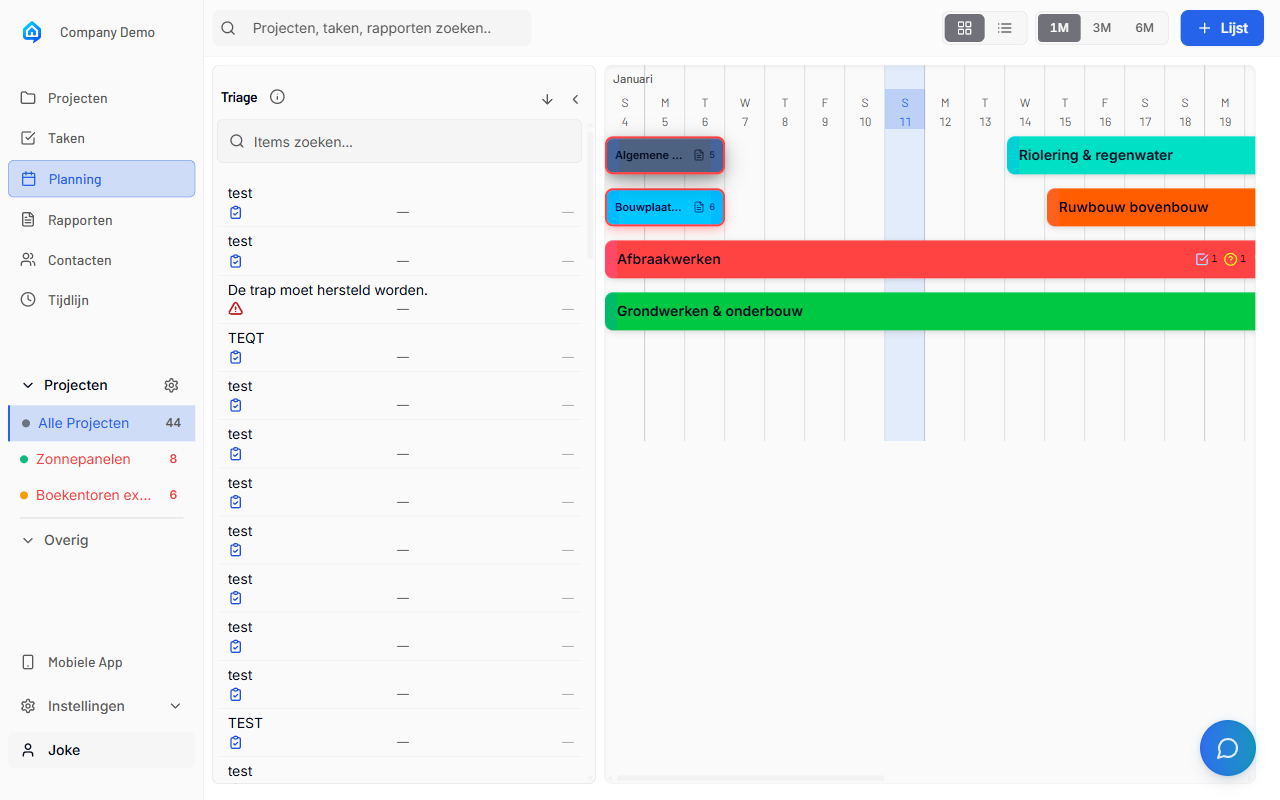
Step 1: Your Projects
Finding Projects
After logging in, you'll see the project list:
- Projects appear in the left sidebar.
- Click a project name to open it.
- Use the search bar to find specific projects.
Project Overview
Each project has a main dashboard showing:
- Active item counts
- Recent activity
- Quick action buttons
- Team members
Step 2: Working with Items
Creating Your First Item
-
Navigate to Items in your project.
-
Click + New Item.
-
Choose the item type:
- Action - A task to complete
- Decision - A choice to make
- Issue - A problem to resolve
-
Question - Information needed
-
Fill in the details:
- Title (required)
- Description
- Assignee
-
Due date
-
Click Save.
Managing Items
- Edit: Click an item, then click Edit
- Change Status: Use the status dropdown
- Add Evidence: Attach photos or documents
- Close: Mark as complete when done
Step 3: Documents
Viewing Documents
-
Go to Documents in your project.
-
Browse the file list or use search.
-
Click a document to open the viewer.
-
Navigate pages, zoom, and search within documents.
Connecting Cloud Storage
-
Go to Project Settings > Integrations.
-
Click Connect next to Dropbox or OneDrive.
-
Sign in and select a folder.
-
Files sync automatically.
Step 4: AI Assistant
Asking Questions
-
Click the chat button (bottom-right corner).
-
Type your question, for example:
- "What are the concrete specifications?"
- "Show all open items assigned to me"
-
"Summarize the latest inspection report"
-
Press Enter.
-
Read the AI response with source references.
Tips for Good Questions
- Be specific about what you're looking for
- Mention document names if you know them
- Ask follow-up questions for more detail
Step 5: Reports
Viewing Reports
-
Navigate to Reports in your project.
-
Browse the list of generated reports.
-
Click a report to view details.
-
Download or share as needed.
Creating Reports (Mobile)
-
Open the mobile app.
-
Start a new voice session.
-
Describe what you observed.
-
End the session to generate a report.
Mobile App Basics
Installing the App
SiteWhiz is a Progressive Web App (PWA):
-
Visit the mobile URL in Safari (iOS) or Chrome (Android).
-
Add to your home screen.
-
Open the app and log in.
Quick Actions on Mobile
- Voice Capture: Record observations by speaking
- Photo Evidence: Take photos and attach to items
- Offline Mode: Work without internet, sync later
Next Steps
You're now ready to use SiteWhiz! Here's what to explore next:
| Task | Guide |
|---|---|
| Create your first project | Creating Project |
| Add team members | Managing Team |
| Upload documents | Uploading Documents |
| Use AI on mobile | Mobile App |
Getting Help
If you need assistance:
- AI Assistant: Ask questions anytime
- Documentation: Browse these guides
- Support: Email support@sitewhiz.eu
Related Topics
- Dashboard Overview - Interface details
- First Login - Account setup
- Items - Complete item guide