Creating Items
Learn how to create new items in SiteWhiz to track actions, decisions, issues, and questions for your construction projects.
Before You Begin
Make sure you have:
- Access to a project with editing permissions
- Logged in to either the Admin app or Mobile app
Creating Items in the Admin App
Step 1: Navigate to Items
-
Click Items in the sidebar navigation.
-
The Items page displays your current items list with filters and search.

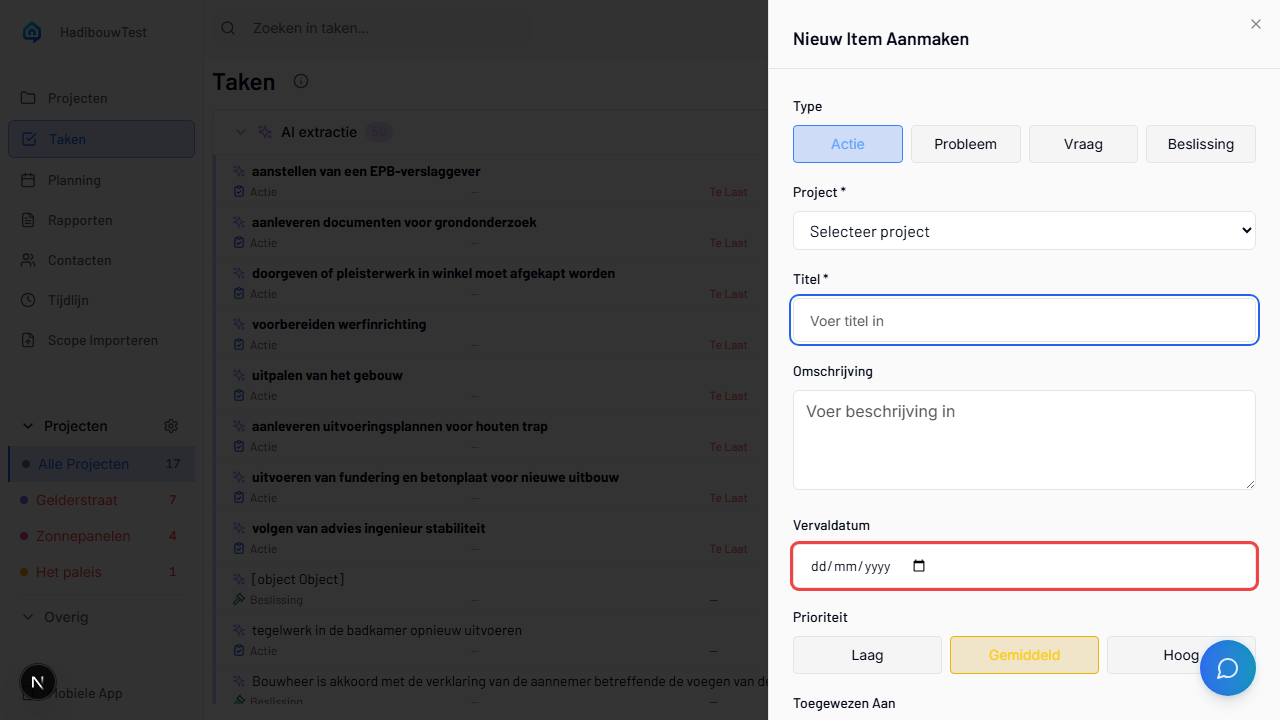
Step 2: Open the Create Modal
- Click the New Item button in the top-right area of the page.
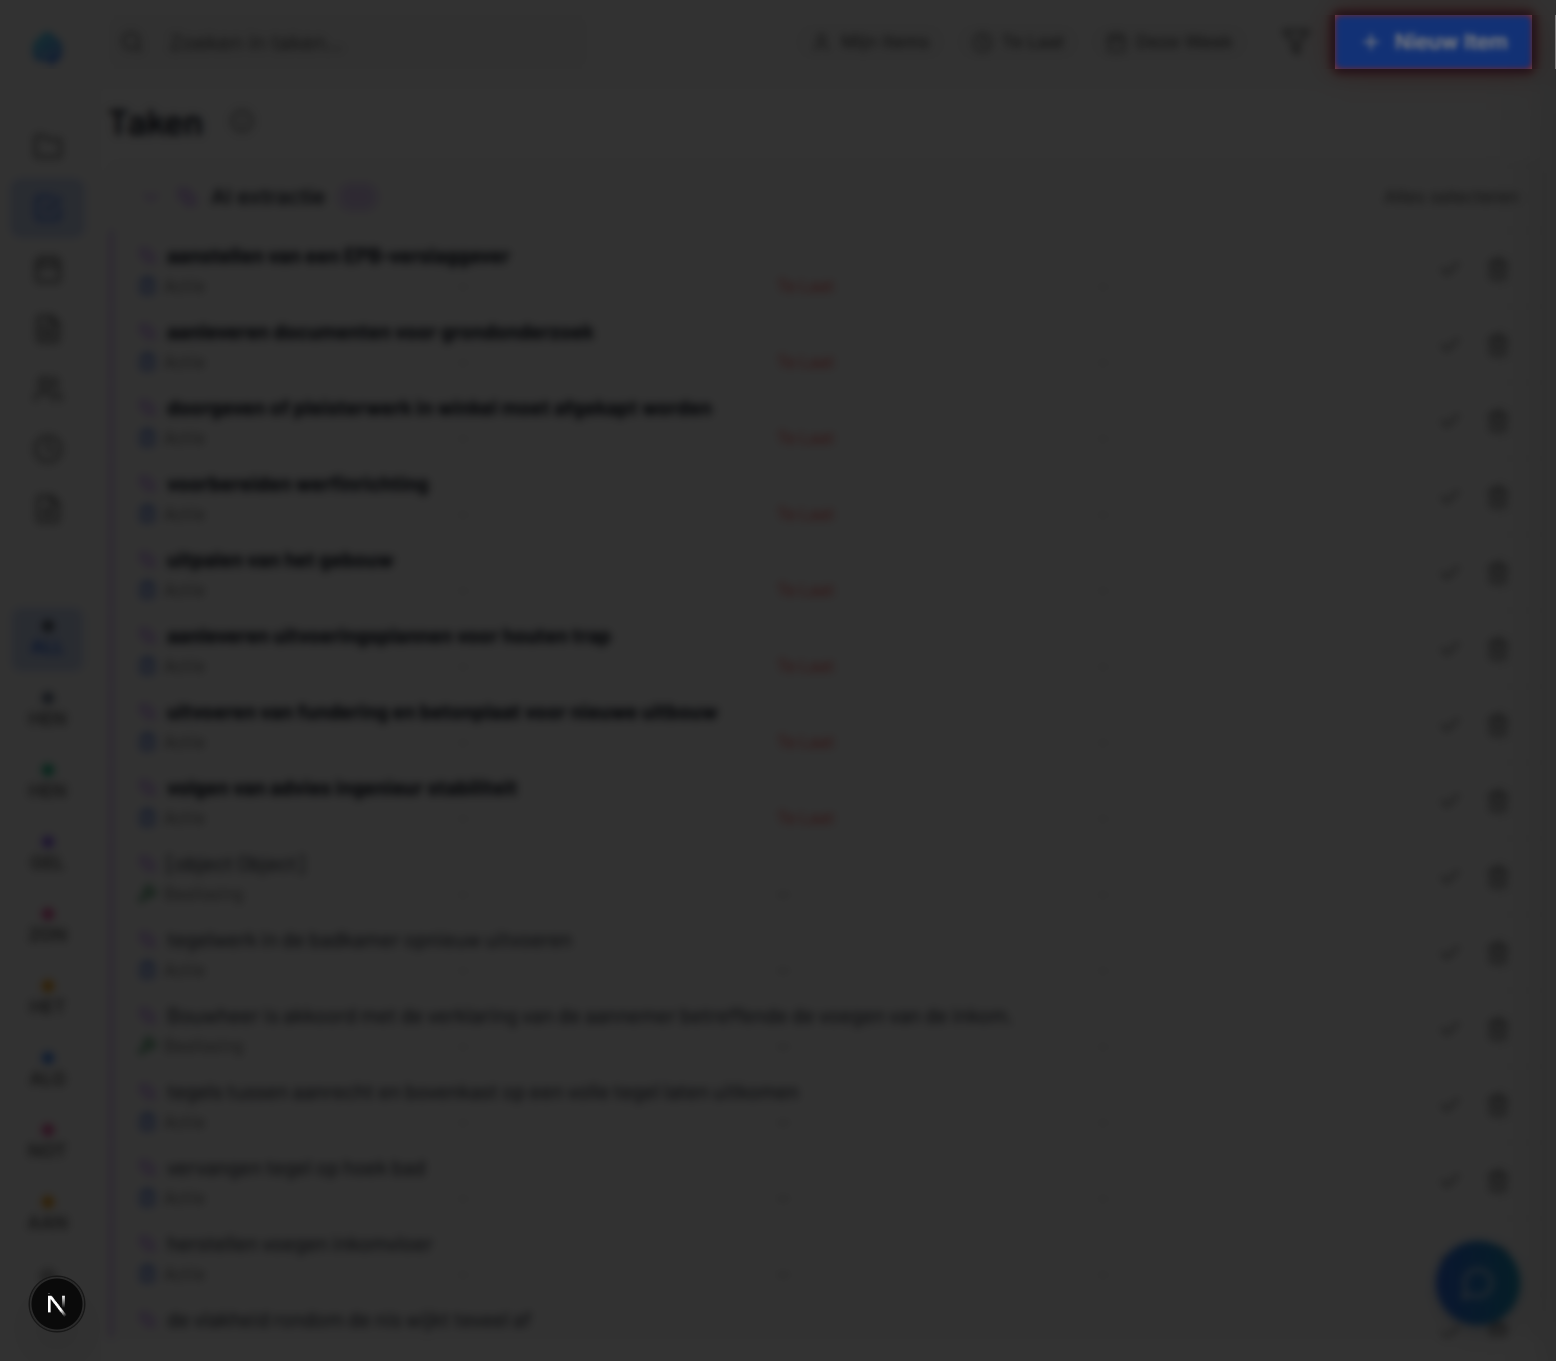
- A modal dialog opens with the item creation form.
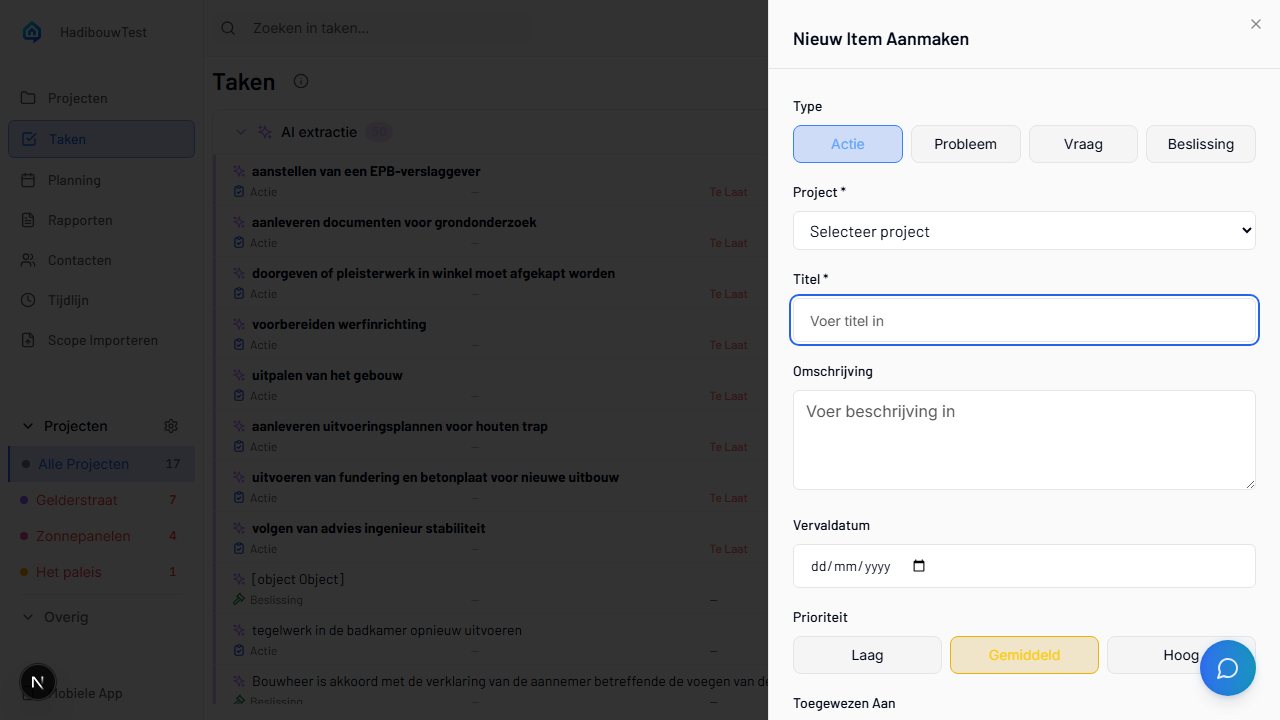
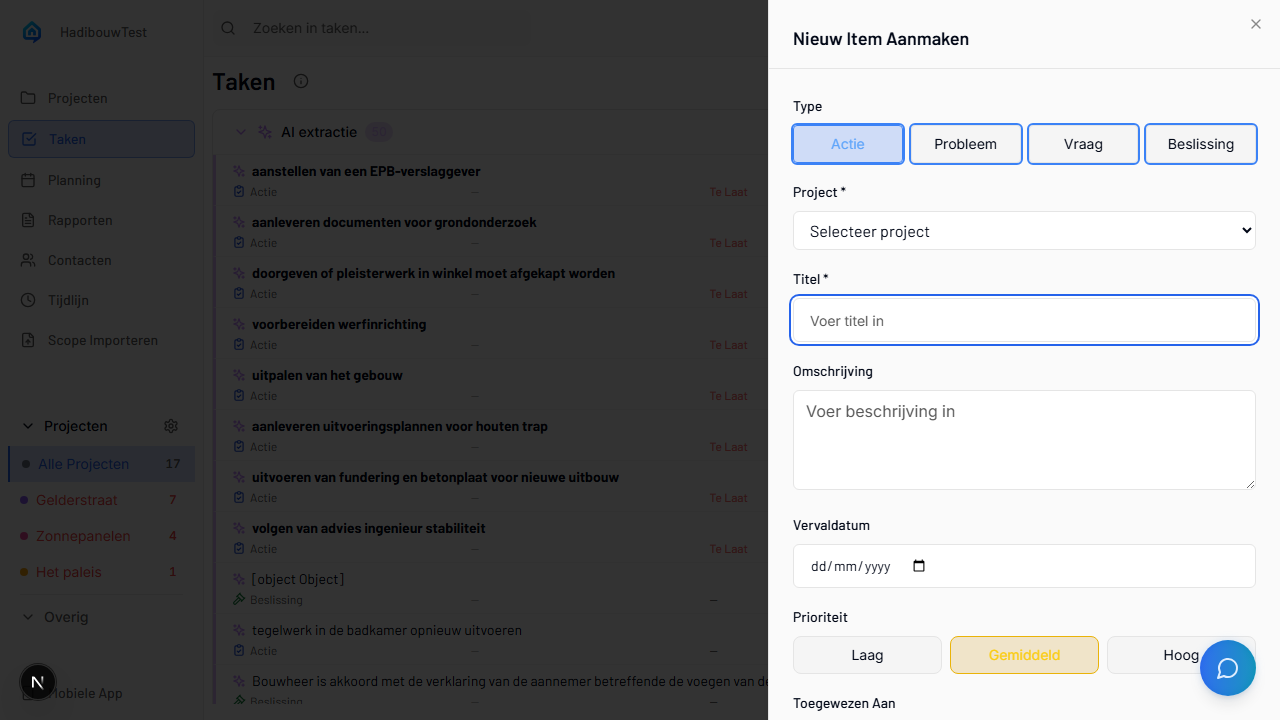
Step 3: Select Item Type
Choose the type that best describes your item:
| Type | Icon | When to Use |
|---|---|---|
| Action | Tasks that need to be completed | |
| Decision | Choices that have been made | |
| Issue | Problems requiring resolution | |
| Question | Information requests or open questions |
Click the button for your desired type. The selected type is highlighted.
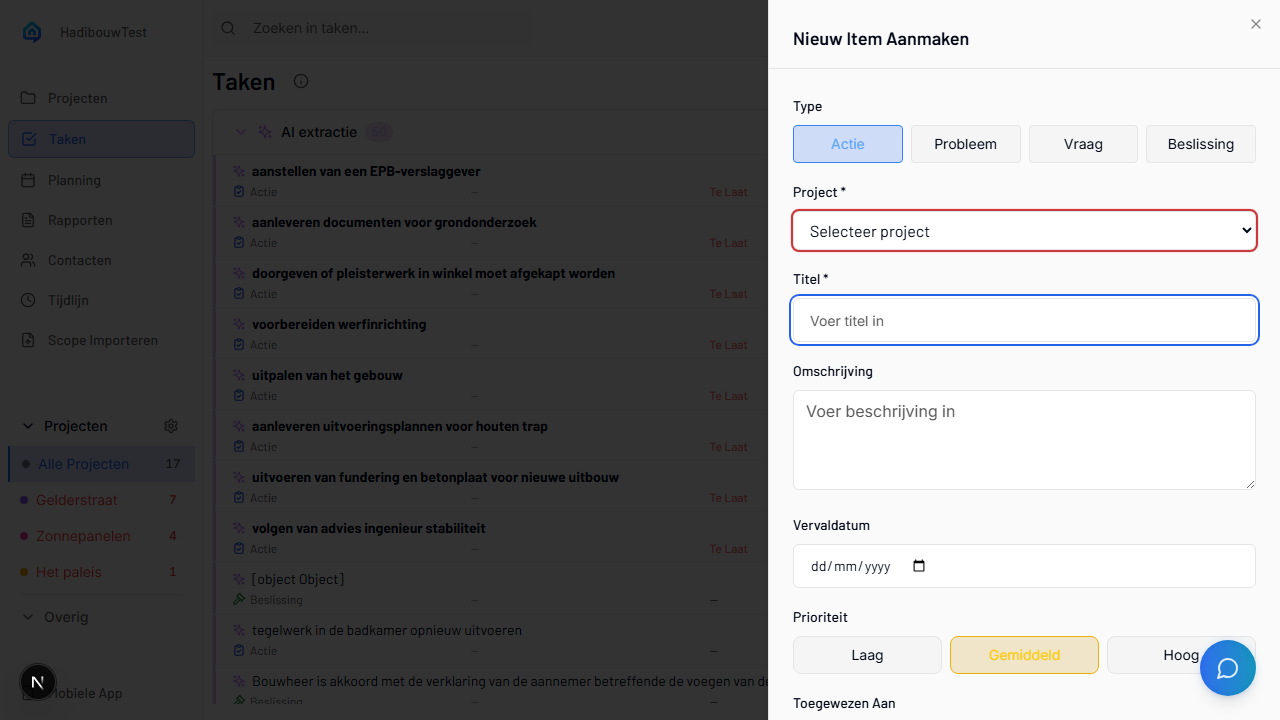
Step 4: Select a Project
-
Click the Project dropdown.
-
Select the project this item belongs to.
Required Field
You must select a project before you can create the item.
Step 5: Enter Item Details
Fill in the following fields:
Title (Required)
Enter a clear, concise title that describes the item.
Writing Good Titles
- Be specific: "Fix leaking pipe in Building A bathroom" instead of "Pipe issue"
- Include location when relevant
- Keep it under 100 characters
Description (Optional)
Provide additional context, details, or background information.
- Use bullet points for multiple related points
- Include relevant specifications or measurements
- Reference related documents or people
Due Date (Optional)
Set a deadline for when the item should be completed:
- Click the date field.
- Select a date from the calendar or type in
YYYY-MM-DDformat.
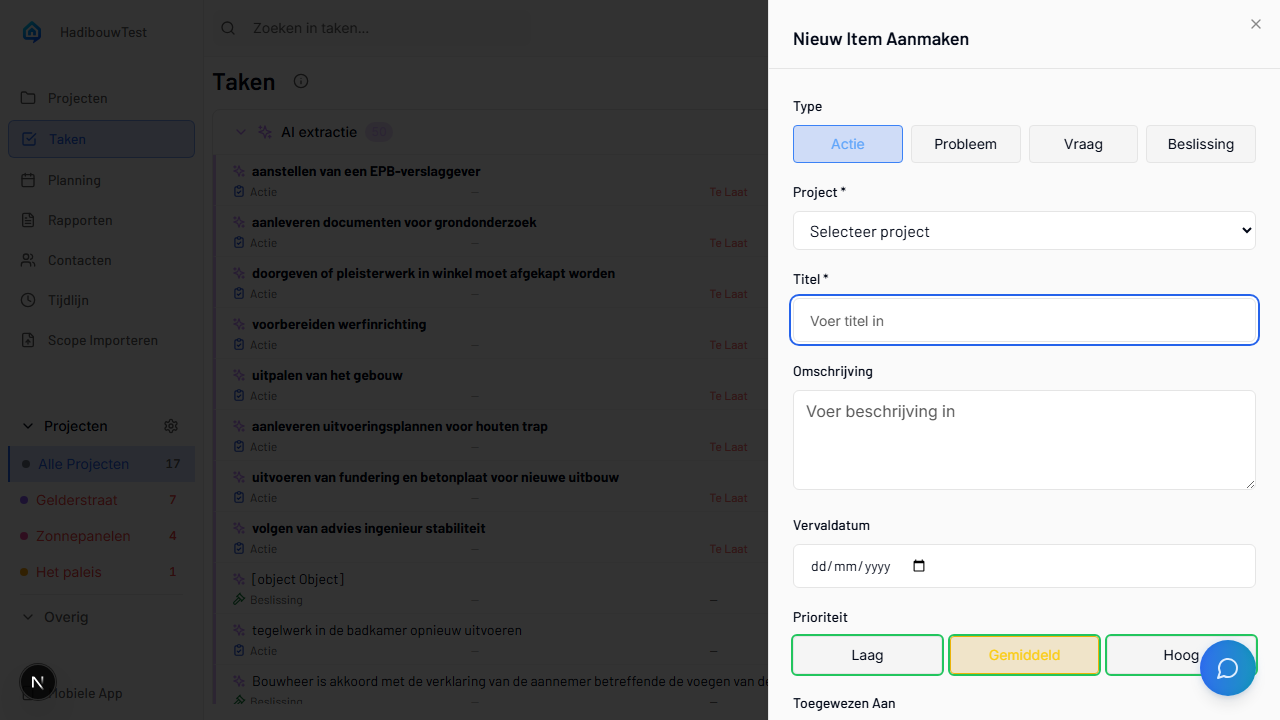
Step 6: Set Priority
Choose the priority level:
| Priority | When to Use |
|---|---|
| Low | Nice to have, no urgency |
| Medium | Standard priority, normal timeline |
| High | Important, needs attention soon |
Click the button for your desired priority level.
Step 7: Assign (Optional)
If your organization has multiple team members:
- Click the Assignee dropdown.
- Select the person responsible for this item.
Step 8: Add Discipline (Optional)
Enter the discipline or trade category (e.g., "Electrical", "Plumbing", "Structural").
This helps filter and organize items by work type.
Step 9: Create the Item
-
Review all fields to ensure accuracy.
-
Click the Create button.

Item Created
The modal closes and your new item appears in the items list.
Creating Items in the Mobile App
The mobile app offers two ways to create items:
Method 1: Quick Create
-
Tap the + floating action button on the Items page.
-
The create panel slides up from the bottom.
-
Fill in the fields (same as admin, but mobile-optimized).
-
Tap Save to create the item.
Method 2: Voice Capture
Create items by speaking - ideal for on-site use.
-
Tap the microphone icon from the home screen or Items page.
-
Speak naturally, describing the item:
"There's a water leak in Building A, third floor bathroom. The pipe fitting under the sink is corroded and needs replacement. This is urgent."
-
SiteWhiz automatically:
- Transcribes your speech in real-time
- Categorizes the item (action, issue, etc.)
- Assigns urgency based on your language
- Extracts actionable tasks
-
Review and edit the transcription if needed.
-
Tap Save to create the item.
Voice Capture Tips
- Speak clearly and at a normal pace
- Include context like location and building
- Mention urgency explicitly ("this is urgent" or "low priority")
- Pause briefly between separate points
Items Created from Other Sources
Items can also be created automatically:
From Cloud Storage (Dropbox/OneDrive)
When you sync documents:
- PDFs are processed automatically.
- Items are extracted from document content.
- Each item links back to the source document.
See Cloud Storage Integration for setup.
From Meeting Recordings
- Start a meeting session in the mobile app.
- SiteWhiz transcribes the discussion.
- Action items and decisions are extracted as separate items.
Required vs Optional Fields
| Field | Required | Notes |
|---|---|---|
| Title | Yes | Brief, descriptive name |
| Project | Yes | Which project this belongs to |
| Type | Yes | Action, Decision, Issue, or Question |
| Description | No | Additional details and context |
| Due Date | No | Deadline for completion |
| Priority | No | Defaults to Medium |
| Assignee | No | Person responsible |
| Discipline | No | Trade category |
Troubleshooting
Create Button is Disabled
The Create button stays disabled until you fill in required fields:
- Make sure you've entered a Title
- Make sure you've selected a Project
- Make sure you've selected a Type
Item Doesn't Appear in List
If your item doesn't show after creation:
- Check your current filters - they may be hiding the new item
- Click the refresh button to reload the list
- Verify you're viewing the correct project
Voice Capture Not Working
If voice capture fails:
- Check microphone permissions in your device settings
- Ensure you have an internet connection
- Reduce background noise for better transcription
Next Steps
- Viewing Items - Browse and search your items
- Editing Items - Update item details and status
- Item Workflow - Understand the item lifecycle