Sessions
Manage recording sessions for site visits.
Overview
Sessions let you capture multiple items during a site visit:
- Record continuously while walking
- AI separates into individual items
- Add photos throughout the session
- Generate a report when done
Starting a Session
New Session
-
Tap + on the main screen.
-
Select New Session.
-
Optionally name the session.
-
Tap Start Recording.
Session Types
| Type | Best For |
|---|---|
| Voice Session | Walking site visit with commentary |
| Quick Capture | Individual items with photos |
During a Session
Recording
While in a session:
- Red indicator shows active recording
- Timer displays session duration
- Pause button available
Speaking Tips
For best results during a session:
- Announce when moving to new area
- Pause briefly between items
- Mention location context
- Keep descriptions concise
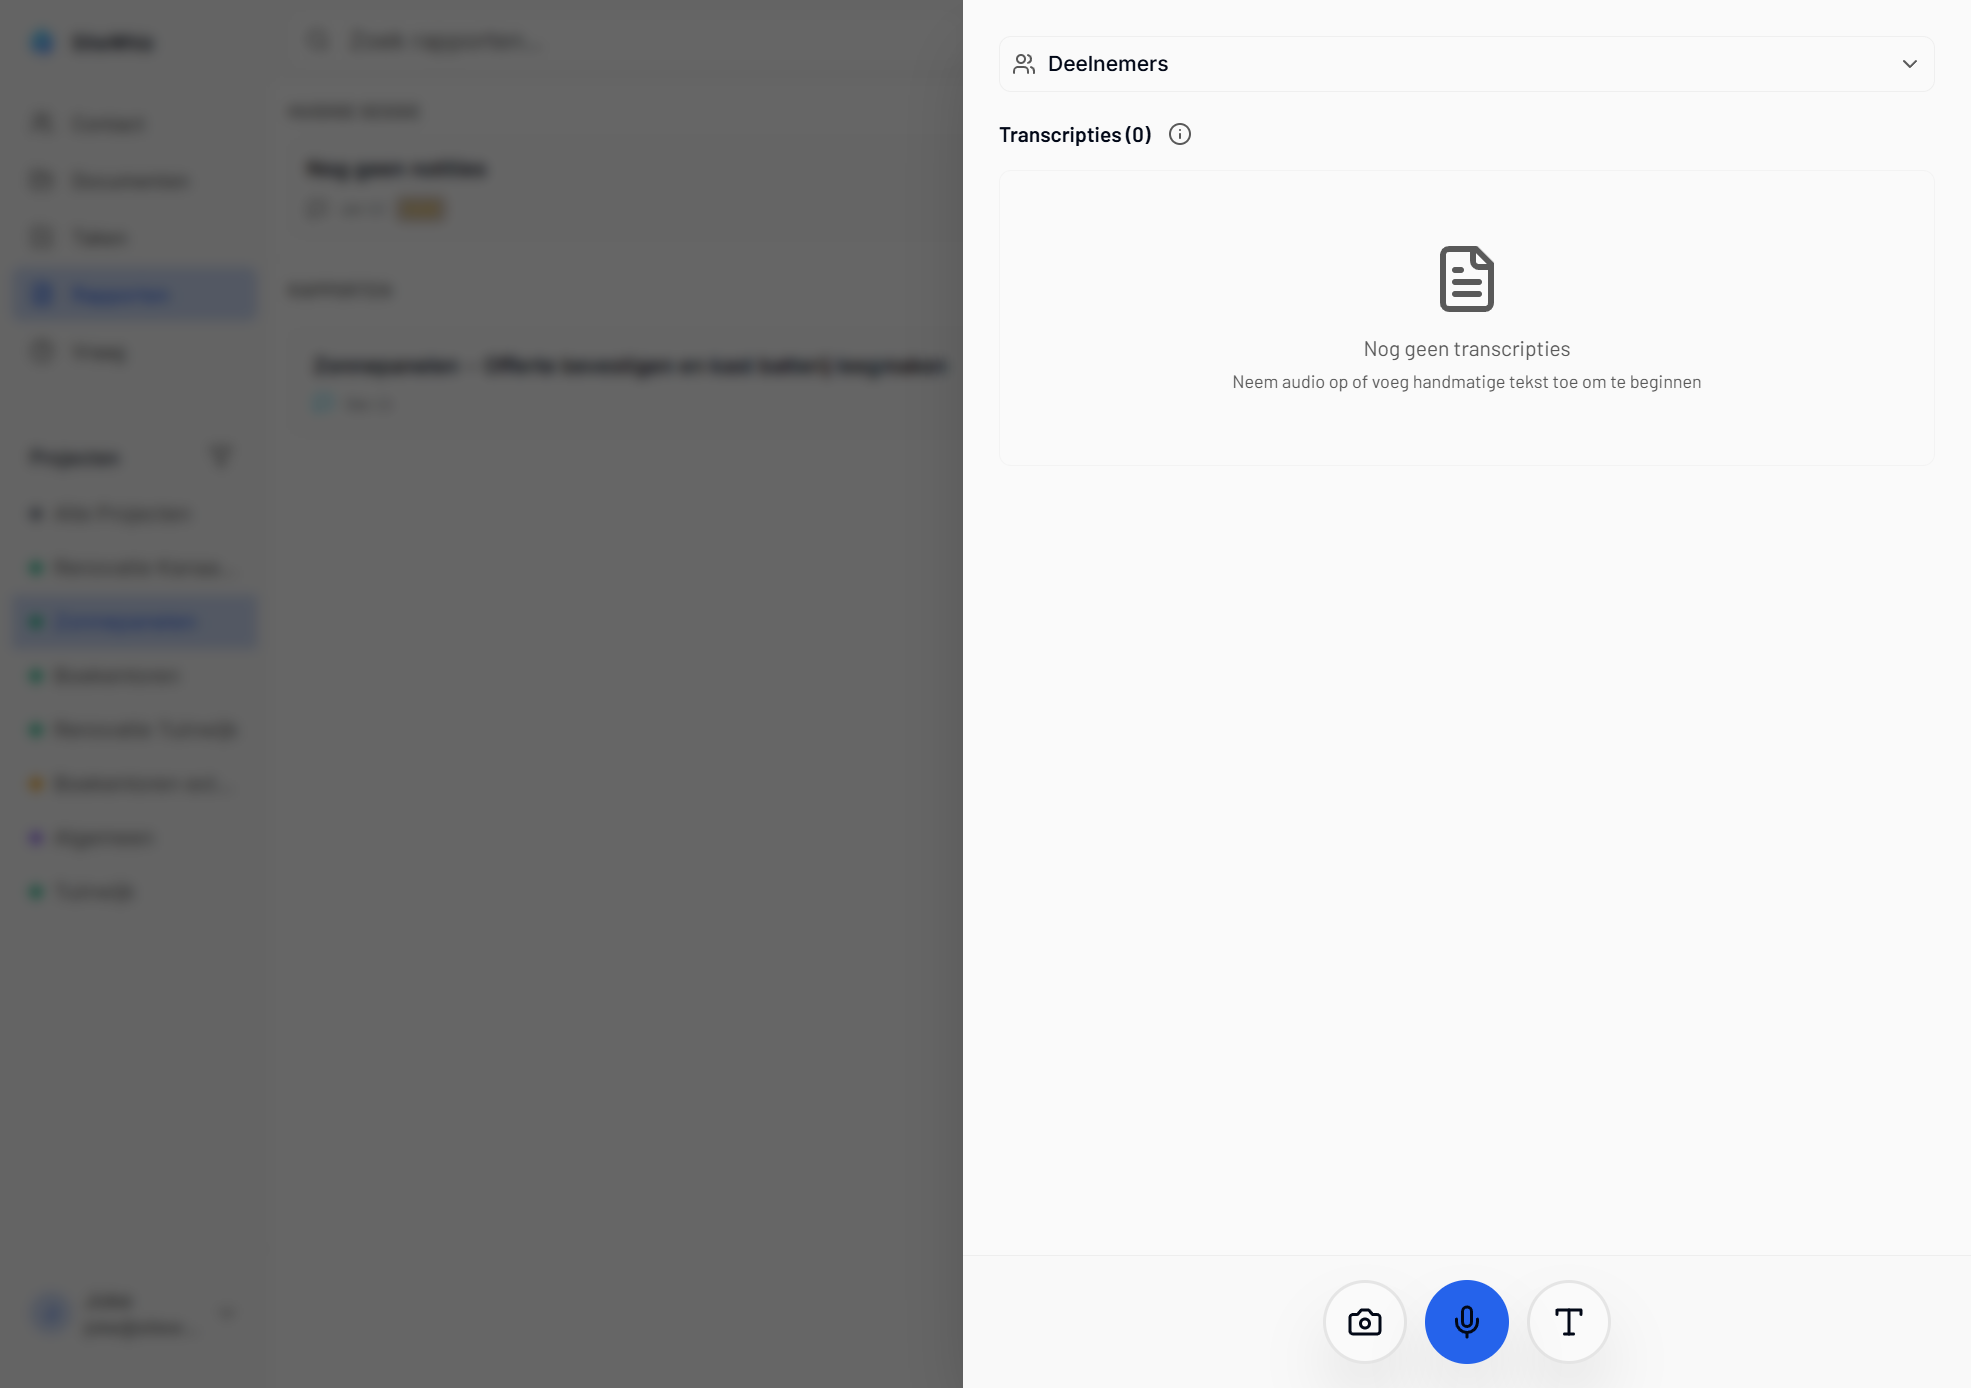
Adding Photos
While recording:
-
Tap the camera button.
-
Take photo(s).
-
Continue recording voice notes.
-
Photos link to nearby voice content.
Manual Text
You can also add text manually:
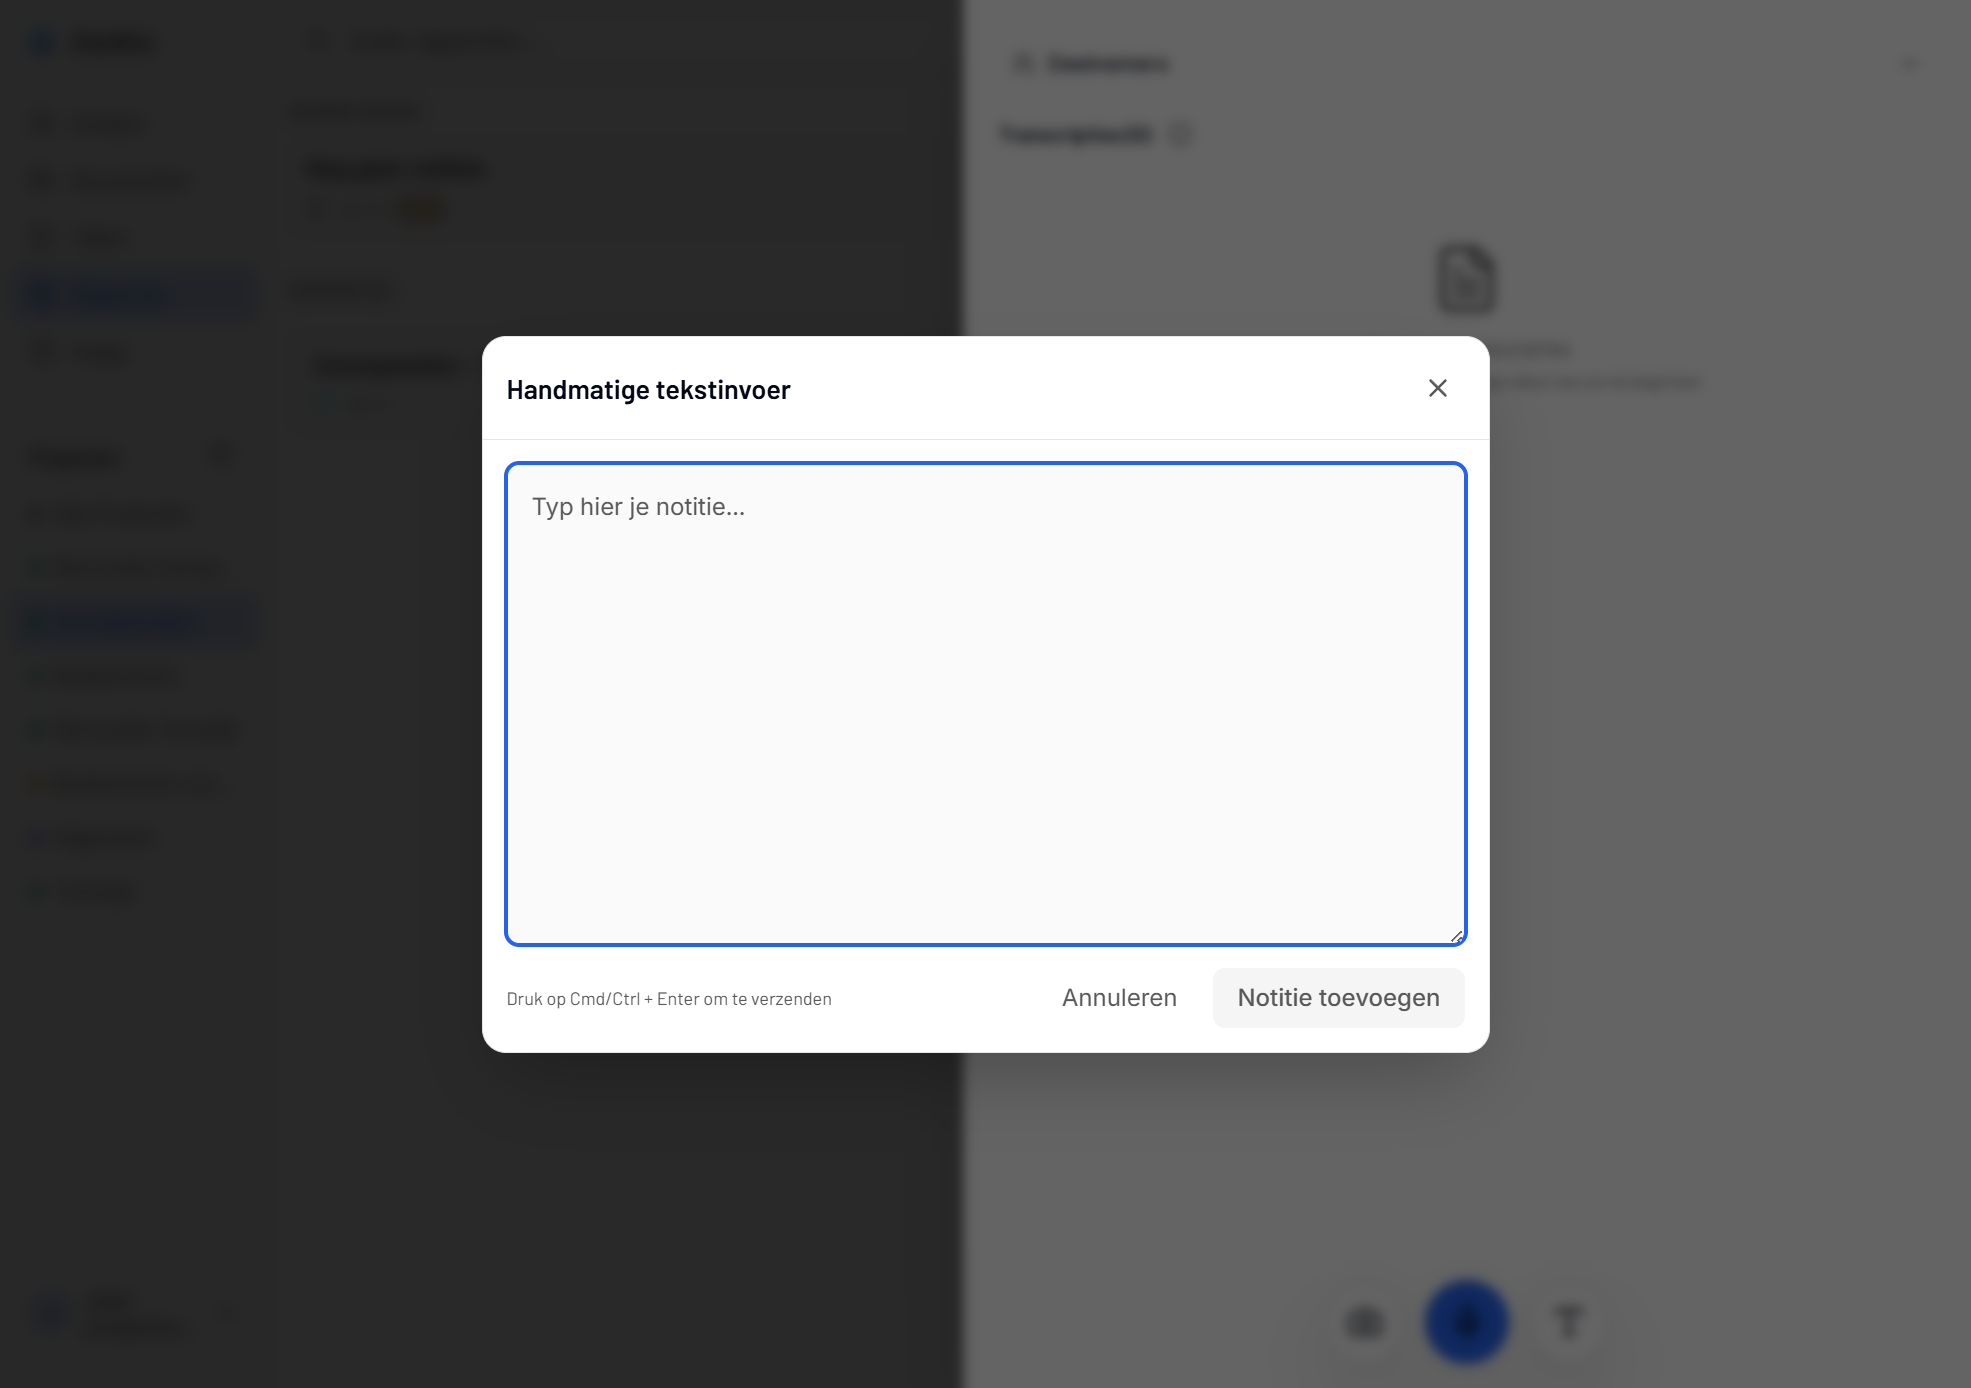
-
Tap the text button.
-
Type your note.
-
Tap Add Note.
Pausing
If you need to pause:
-
Tap Pause.
-
Recording stops but session stays open.
-
Tap Resume to continue.
-
Or tap End Session to finish.
Ending a Session
Completing
-
Tap End Session.
-
AI processes the entire recording.
-
Review proposed items.
-
Edit as needed.
-
Save all items.
Processing Time
Longer sessions take more time to process:
| Duration | Processing Time |
|---|---|
| 1-5 minutes | 10-30 seconds |
| 5-15 minutes | 30-60 seconds |
| 15+ minutes | 1-3 minutes |
Reviewing Session Items
Item List
After processing, you see:
- All detected items
- Suggested types
- Linked photos
- Timeline of the session
Editing Items
Before saving, you can:
- Edit titles and descriptions
- Change item types
- Reassign photos
- Delete incorrect items
- Split or merge items
Bulk Save
-
Review all items.
-
Make necessary edits.
-
Tap Save All.
-
Items are created in your project.
Draft Sessions
Unsaved Sessions
If you close without saving:
- Session saves as draft
- Draft indicator appears
- Resume anytime
Resuming Drafts
-
Find the draft in Sessions list.
-
Tap to open.
-
Continue recording or save items.
Deleting Drafts
-
Swipe left on the draft.
-
Tap Delete.
-
Draft is permanently removed.
Session Reports
Automatic Reports
Completed sessions generate reports:
- Summary of all items
- Photos included
- Timeline of observations
- Ready for sharing
Accessing Reports
- Go to Reports tab.
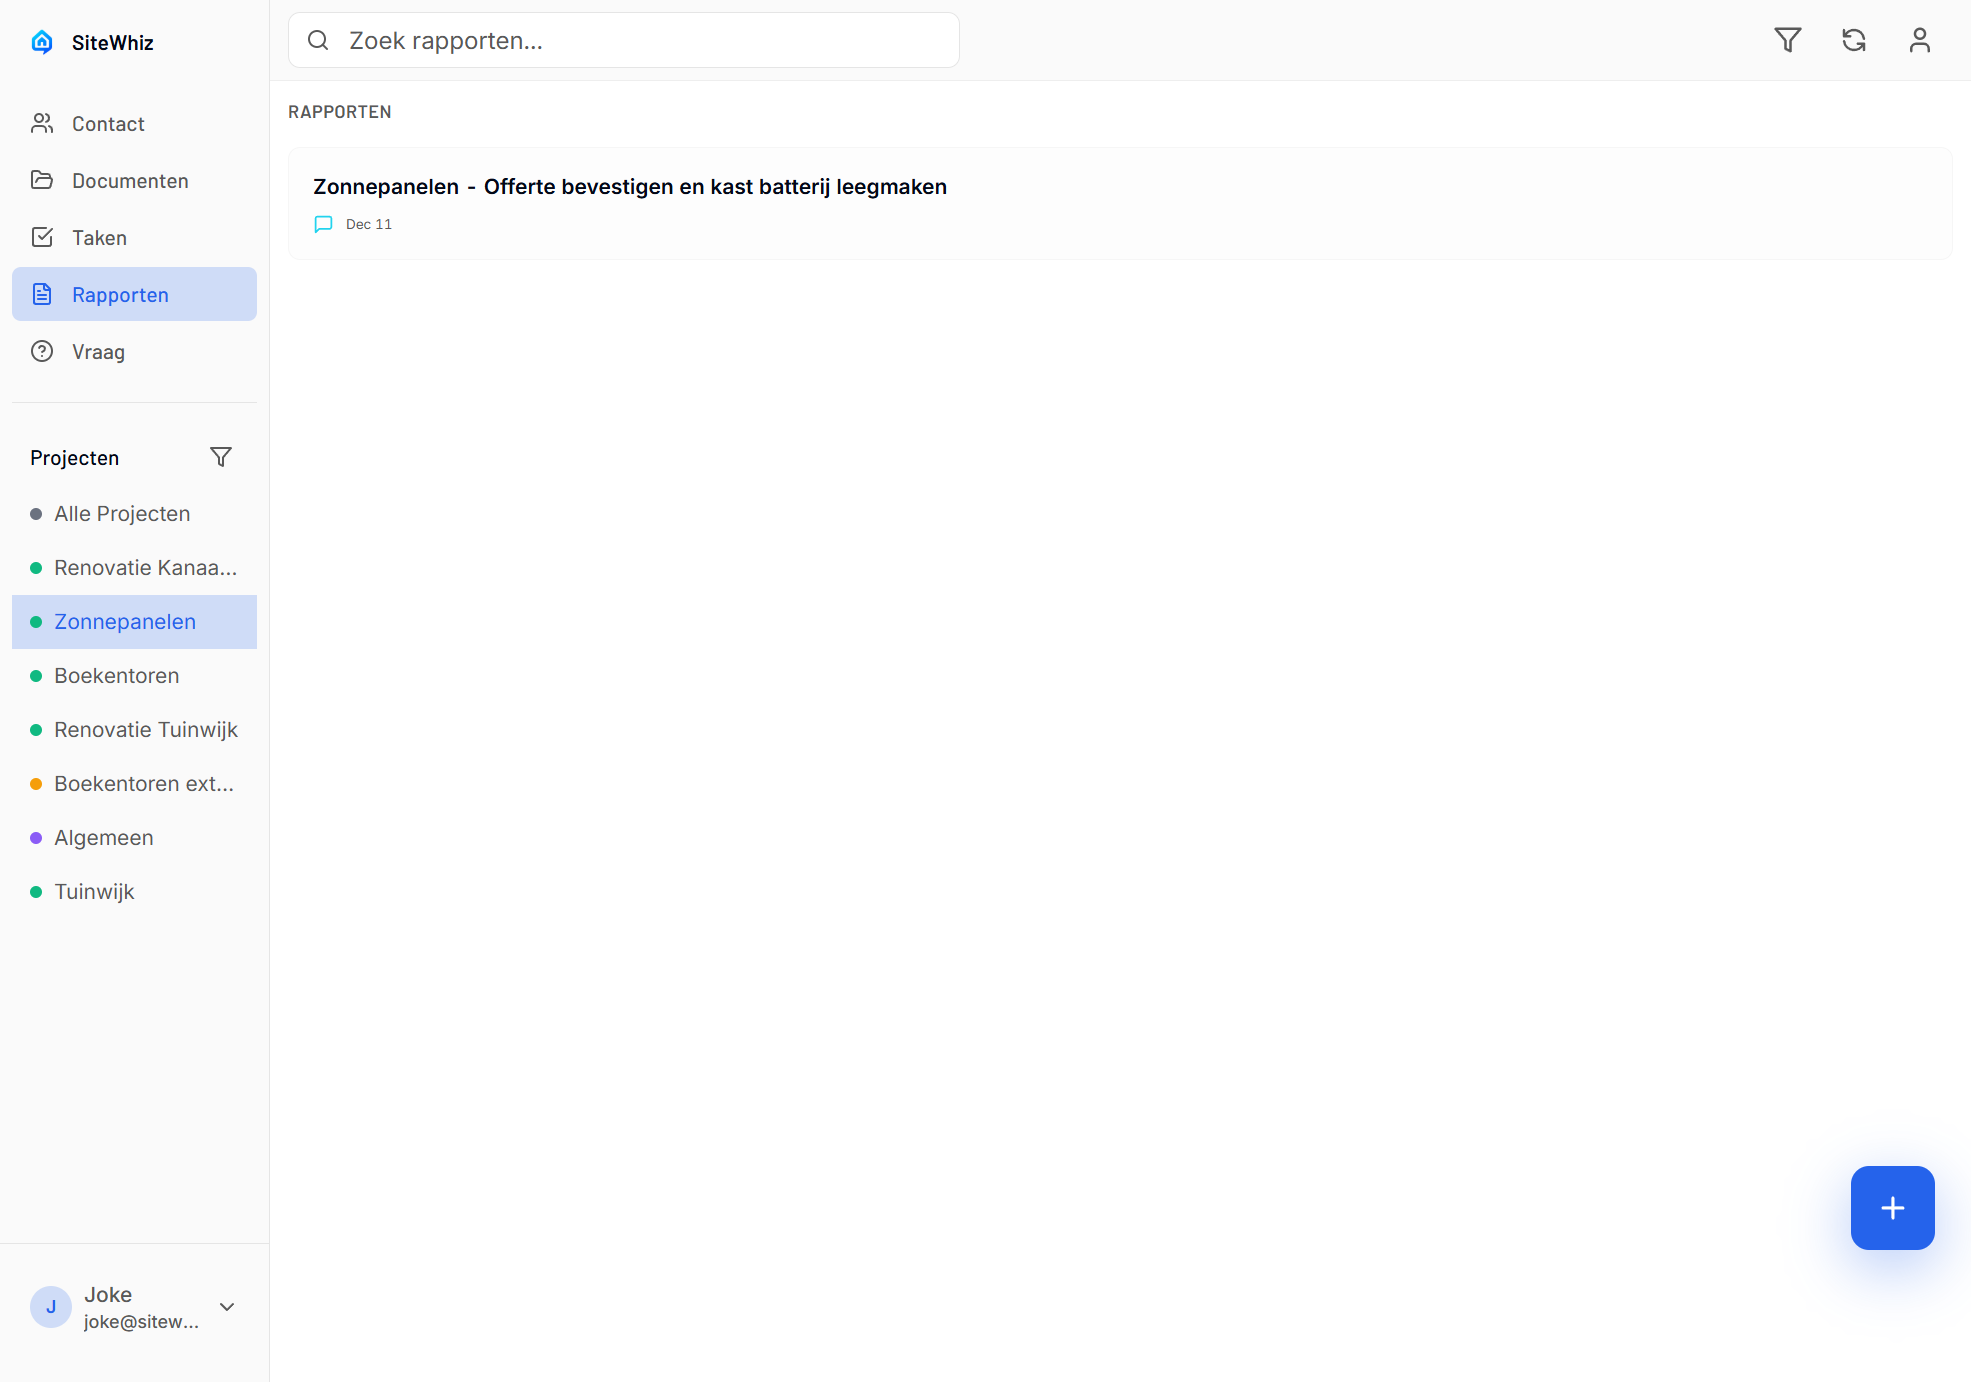
-
Find the session report.
-
Tap to view details.
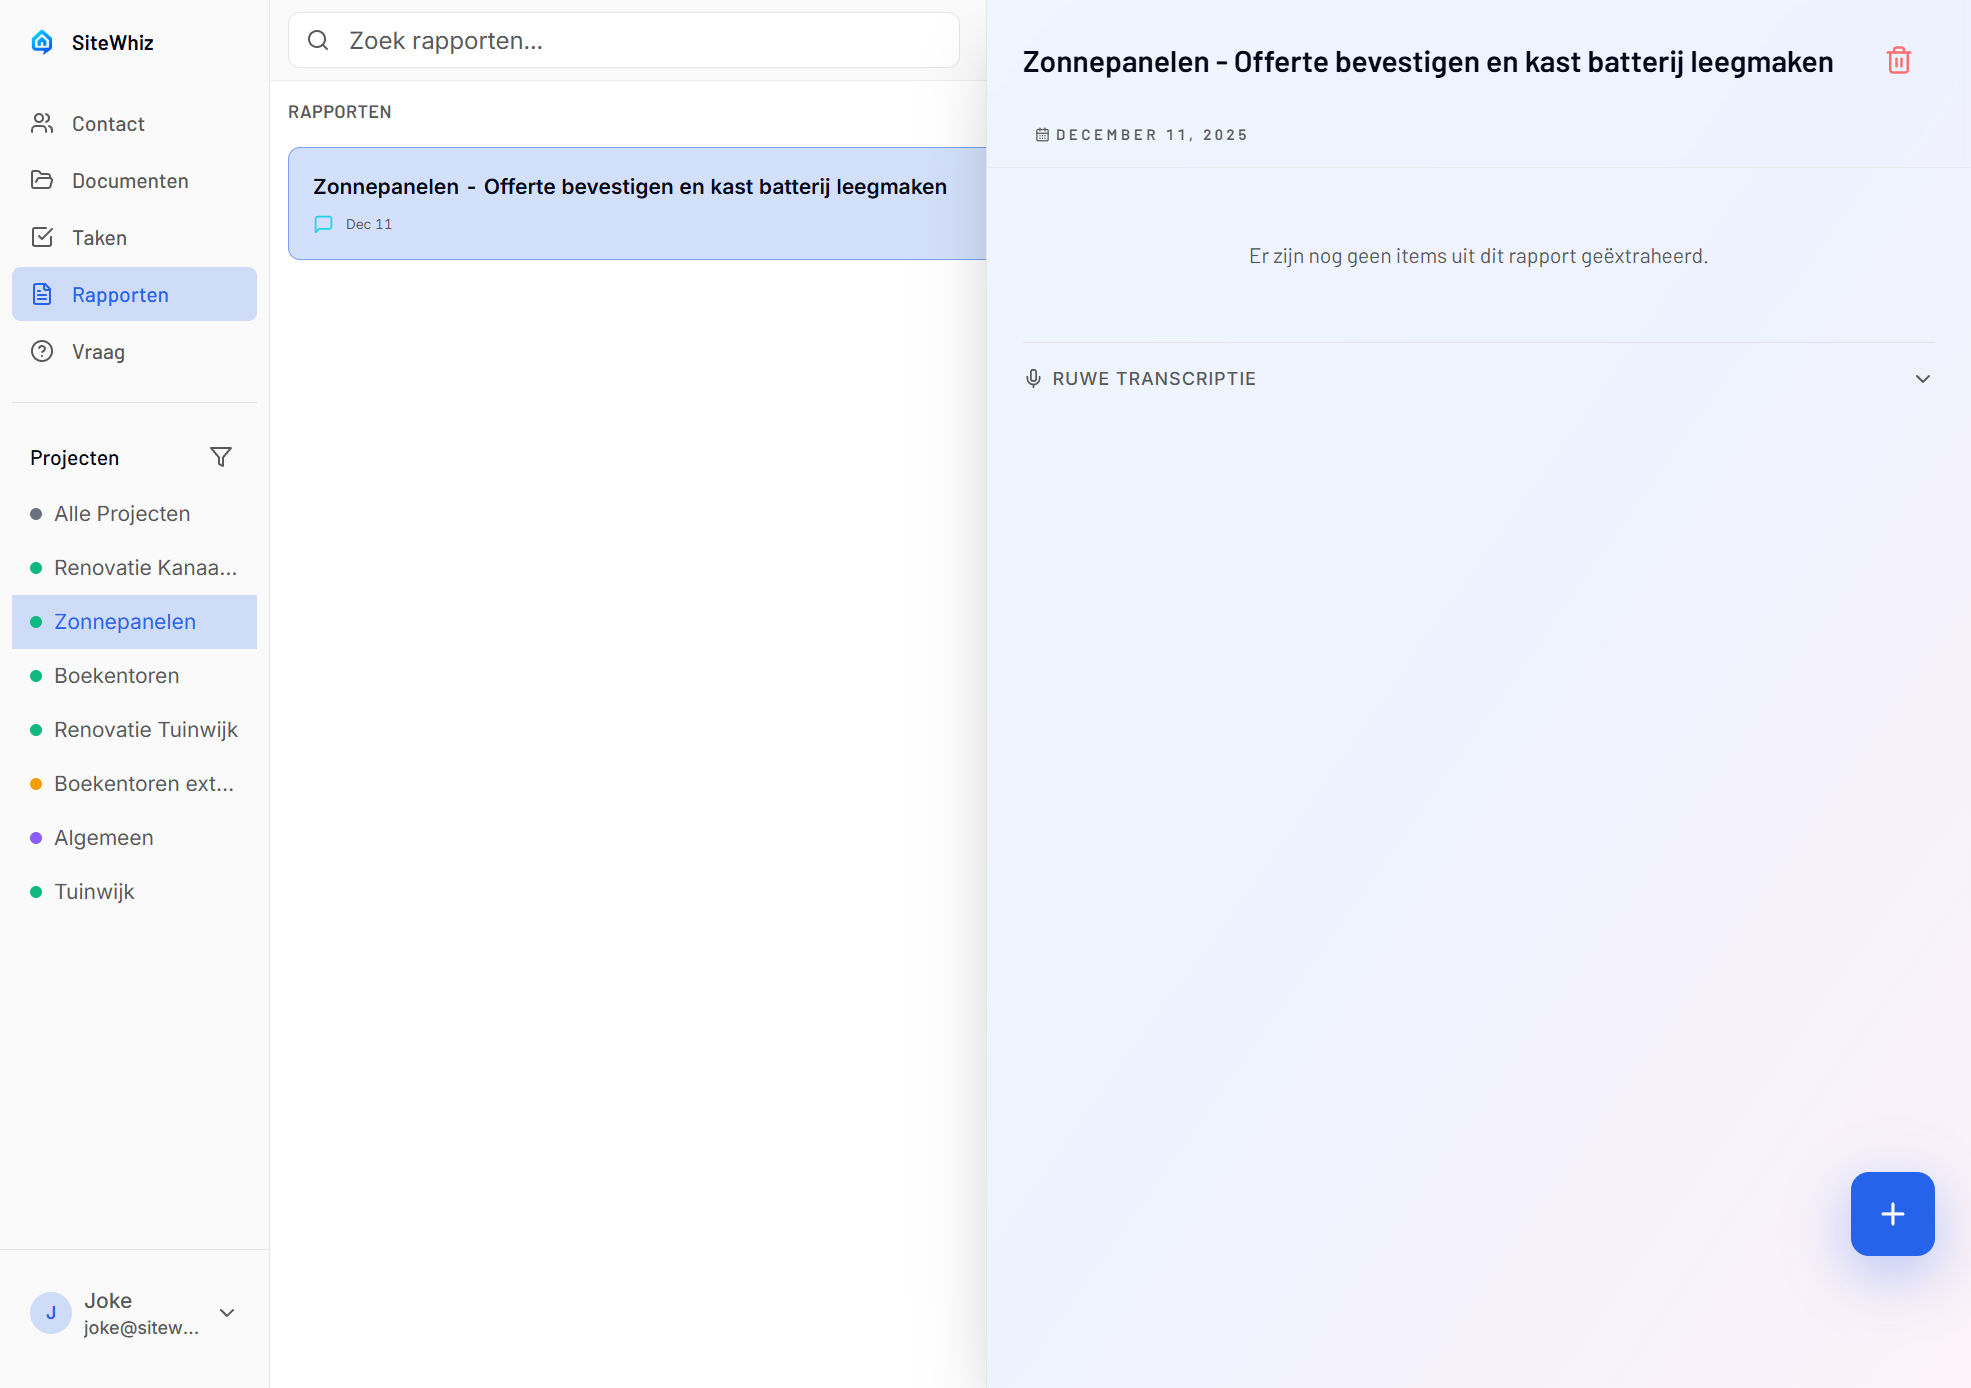
- View, download, or share.
Offline Sessions
Recording Offline
Sessions work without internet:
- Full recording capability
- Photos saved locally
- Draft stored on device
Syncing Later
When back online:
-
Open the draft session.
-
Process and review items.
-
Items sync to server.
Session History
Viewing Past Sessions
-
Go to Reports or Sessions list.
-
Browse completed sessions.
-
Tap to view details.
Session Data
Each session shows:
- Date and duration
- Number of items created
- Photos captured
- Generated report
Troubleshooting
Processing Failed
If session won't process:
-
Check internet connection.
-
Try again with stable connection.
-
For very long sessions, consider splitting.
Lost Recording
If recording seems lost:
-
Check Drafts for autosaved content.
-
Check device storage isn't full.
-
Recent recordings may be recoverable.
Items Missing
If fewer items than expected:
-
Check if items were merged.
-
Review the full transcript.
-
Manual items can be added.
Related Topics
- Voice Capture - Recording techniques
- Photo Capture - Adding photos
- Reports - Session reports