Projects
Projects are your workspace for managing construction work - from documents and specifications to team coordination and progress tracking. This guide covers everything from creation to daily operations.
What is a Project?
A project in SiteWhiz contains:
- Items - Actions, decisions, issues, and questions
- Documents - Specifications, contracts, drawings, photos
- Team - Members with specific roles and permissions
- Timeline - Activity history and progress tracking
- Reports - Generated summaries and exports
Choose Your Starting Method
Different situations call for different approaches:
Best for: Simple projects, starting from scratch
Time: 30 seconds
When to use: You want to start immediately and add content as you go.
Quick steps: 1. Click + New Project 2. Enter project name 3. Click Create 4. Start adding items and documents
The fastest way to get started.
Steps:
- Overview page → Click + New Project button
- Fill required field:
- Project Name (required) - Example: "Building A Renovation 2026"
- Fill optional but recommended fields:
- Address - Project location (e.g., "123 Main Street, Amsterdam")
- Cloud Storage Path - Dropbox/OneDrive folder path (e.g., "/Projects/Building A Renovation 2026")
- Email Folder Path - Outlook folder path (e.g., "/Inbox/Projects/Building A Renovation 2026")
- Description - Brief overview
- Project Manager - Select team member
- Click Create
Detailed Project Creation
Projects Page Overview
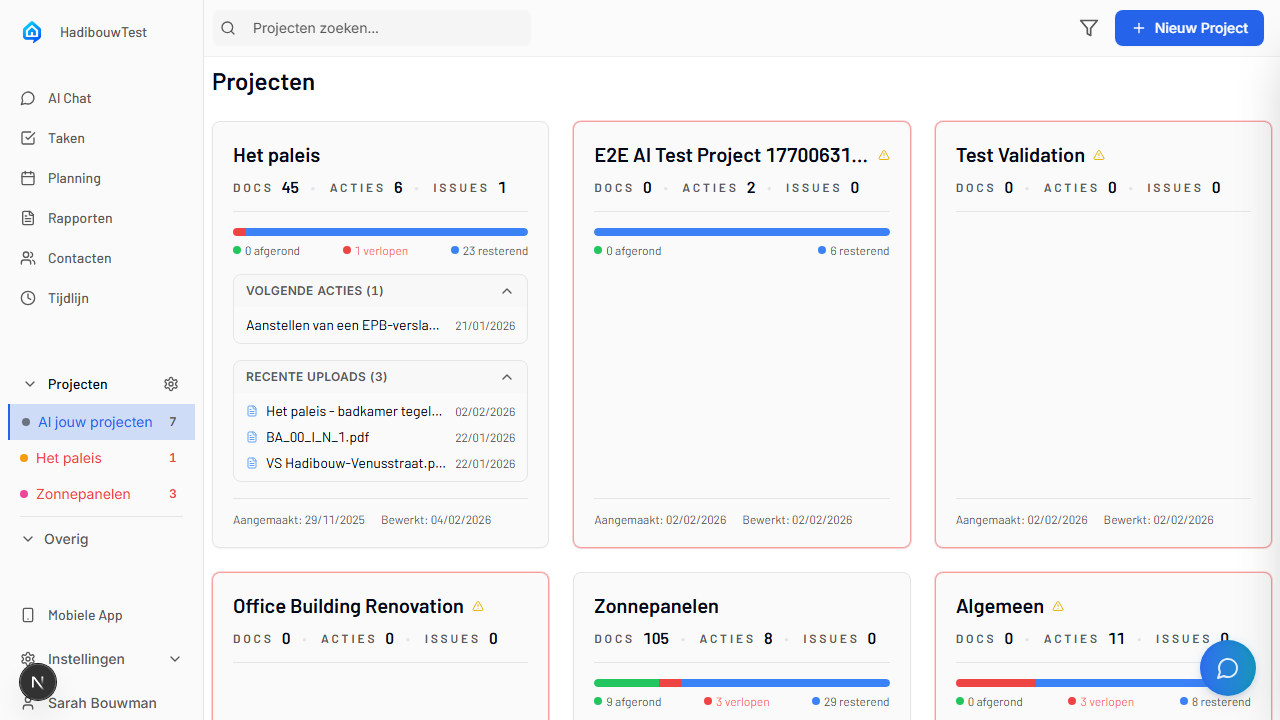
The projects page shows all your projects. The + New Project button is in the top-right corner.
Opening the Creation Dialog
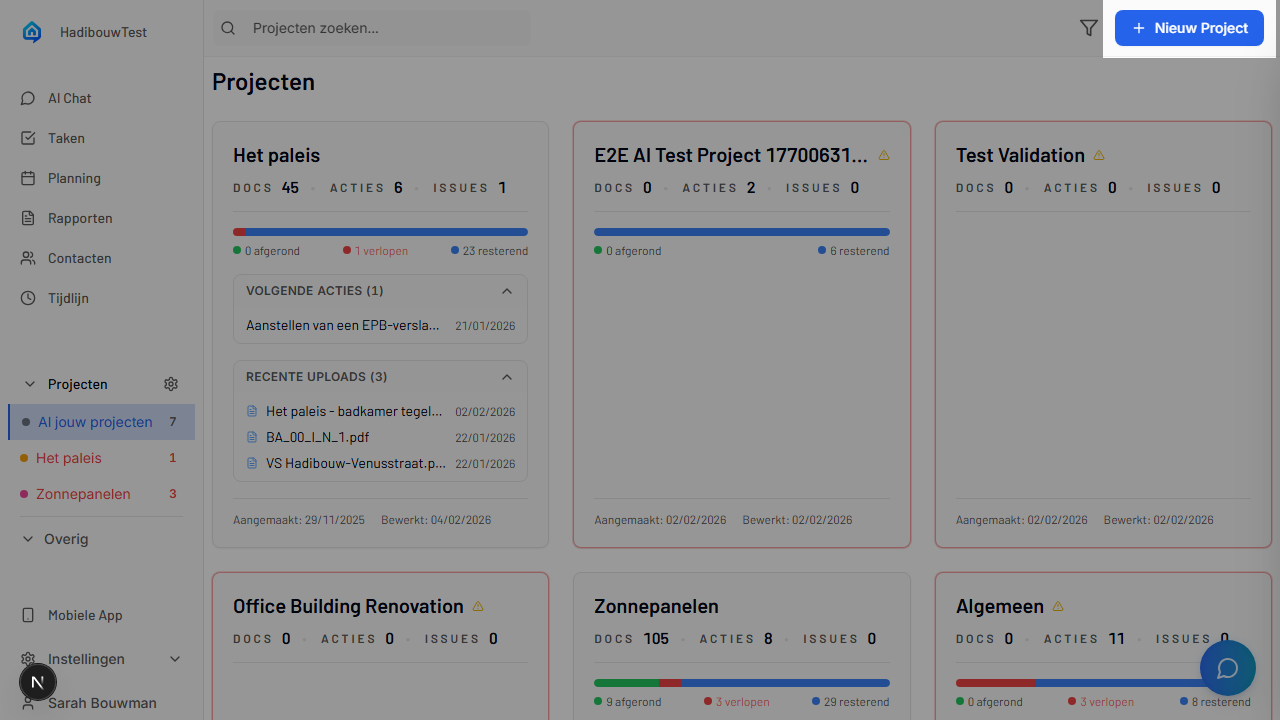
- Navigate to your overview page
- Look for + New Project button (top-right or center)
- Click to open project creation form
The Creation Form

The form contains all fields needed to create a project. Required fields are marked with an asterisk (*).
Required Fields
Project Name:
- Clear, descriptive name
- Example: "Amsterdam Central Station Renovation"
- Avoid: "Project 1" or generic names
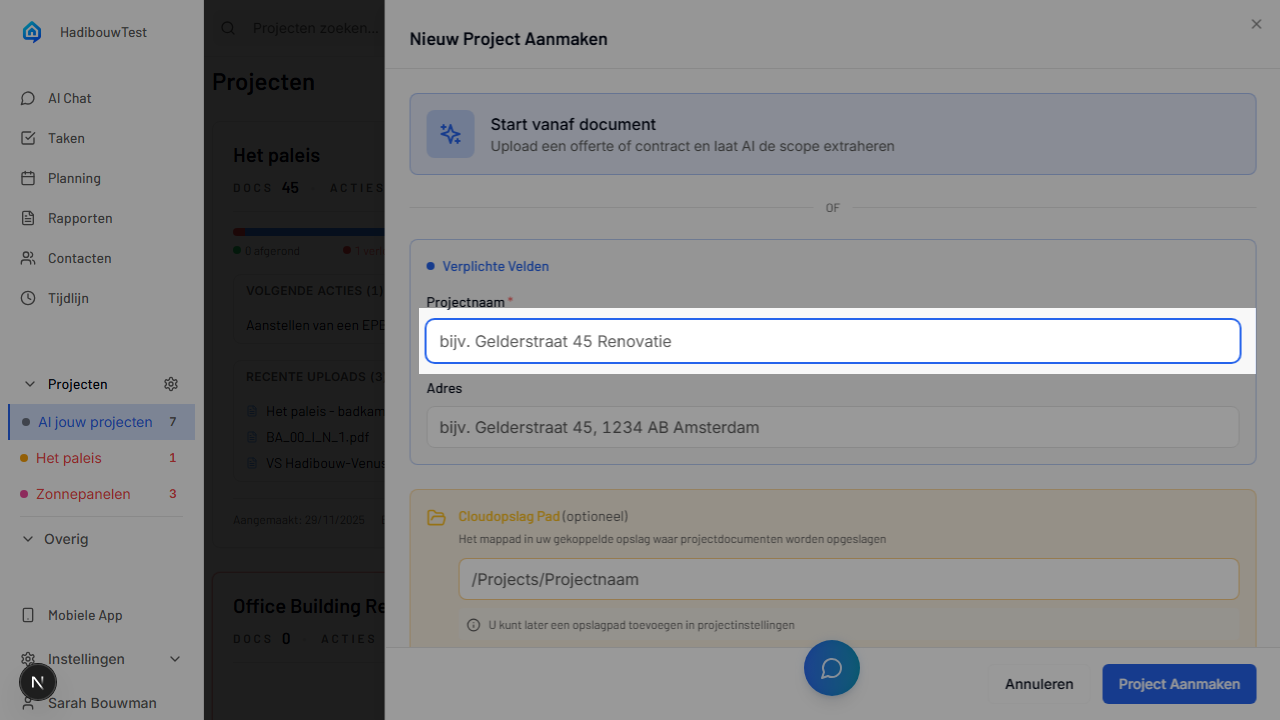
Optional Fields (Recommended)
Address: - Full project location - Used in reports and navigation - Example: "Stationsplein 15, 1012 AB Amsterdam"
Cloud Storage Path:
- Folder path in your connected Dropbox or OneDrive
- Format: /Projects/ProjectName (use forward slashes, start with /)
- Example: /Projects/Building A Renovation 2026
- How to find:
1. Open Dropbox or OneDrive in your browser
2. Navigate to the project folder
3. Copy the path from the URL
4. For Dropbox: after /home/, for OneDrive: after /Documents/
- Files in this folder will automatically sync to your project
- Leave empty if not using cloud storage for this project
Email Folder Path:
- Outlook folder that will be automatically monitored for project emails
- Format: /Inbox/FolderName or /Archive/FolderName (use forward slashes)
- Example: /Inbox/Projects/Building A Renovation 2026
- How to find:
1. Open Outlook (desktop or web)
2. View your folder structure on the left
3. Note the full path from Inbox or root folder
4. Replace spaces and use forward slashes
- Important: Email integration must be connected first in your user settings (Settings → Integrations → Connect Outlook). This is per-user.
- Emails you move to this folder will be automatically processed
- Leave empty if not using email integration for this project
Description: - Brief project overview - Example: "Volledige renovatie inclusief elektra en leidingwerk" - Helps team understand project scope
Project Manager: - Select from dropdown - Gets admin permissions automatically - Can be changed later
Default Values
When you create a project, these are set automatically: - Status: Active - Phase: Planning - Currency: EUR - Visibility: Team Only
All can be changed in Project Settings.
After Creation
Your project:
- Appears in your projects list immediately
- You become the Owner (full permissions)
- Overview page shows an empty state
- Ready for team invitations and content
Best for: Projects with existing documentation
Time: 5-10 minutes (including AI processing)
When to use: You have specifications, contracts, or meeting minutes that contain action items.
Quick steps: 1. Click + New Project 2. Enter project name 3. Upload documents (PDF, Word, Excel) 4. Wait for AI extraction (2-5 minutes) 5. Review and confirm suggested items
Start your project fast: Give your bill of quantities or project documents to SiteWhiz and AI automatically converts them into a list of actions and questions to get started quickly.
What you can upload: - Bill of Quantities / Scope (PDF, Excel) - Converted to action items per phase - Specifications (PDF, Word) - Contracts - Meeting minutes - Drawings with notes - Email threads
AI extracts: - Actions to complete (with disciplines and deadlines) - Decisions that have been made - Issues to resolve - Questions to answer - Project phases (Preparation → Groundwork → Structure → etc.)
Using the AI Startup Wizard
Step 1: Basic Project Info
Same as manual creation: - Enter project name (required) - Add description, address, manager (optional) - Click Next
Step 2: Upload Documents
Drag and drop or click to browse: - Select multiple files at once - Supported: PDF, Word (.docx), Excel (.xlsx) - File size limit: 50 MB per file - You can upload 1-20 documents
Best documents for AI extraction: - Bill of Quantities / Scope - Ideal for project startup (converted to tasks per discipline) - Text-based PDFs (not scanned images) - Clear formatting with headings - Structured content (numbered lists, bullet points) - Excel sheets with task lists - Meeting minutes with action items
What happens: - Files upload immediately - Processing starts automatically - Progress bar shows status - Typical processing: 2-5 minutes for 10 documents
Step 3: Review AI Suggestions
Items are grouped by source document:
Each item shows: - Type (Action, Decision, Issue, Question) - Title - Brief description - Source - Document name + page number - Priority - AI-suggested (Low, Medium, High)
Your options for each item:
✓ Keep (checkbox) - Check to include this item - Default: All checked
✏️ Edit - Click item to expand - Modify title, description, type, priority - Set due date or assignee
✗ Remove - Uncheck to exclude - Item won't be created
Step 4: Confirm and Create
Review counts: - Total items found: 47 - Selected: 42 - Removed: 5
Confirmation options:
Confirm Selected - Creates only checked items - Allows selective confirmation
Confirm All - Creates all items at once - Faster for clean extractions
Skip Wizard - Creates project without items - Documents still uploaded - Can process them later
After Confirmation
- Project created with all confirmed items
- Documents appear in Documents section
- Overzichtspagina shows item counts and metrics
- Team can start working immediately
Time Savings
AI can extract 50+ items from a 47-page specification in 3 minutes. Manual entry would take 2-3 hours.
Common AI Extractions
From specifications: - "Install electrical panel on north wall per Section 3.2" - "Choose between copper or PEX piping for hot water system" - "Existing conduit routing conflicts with HVAC duct placement"
From meeting minutes: - "Schedule foundation inspection with structural engineer" - "Confirm window delivery date with supplier" - "Review and approve lighting fixture selections by next meeting"
From contracts: - "Submit as-built drawings within 30 days of completion" - "Obtain building permit before starting foundation work"
Project Settings
Configure your project after creation.
Access: Open project → Click gear icon (⚙️) or Settings
What you can configure: - General settings (name, description, status) - Team management - Integrations (cloud storage, email)
Detailed Settings Configuration
General Settings
Project Name: - Edit anytime - Changes reflect everywhere immediately
Description: - Free-form text - Supports markdown formatting - Visible to all team members
Status: - Active - Currently working (default) - On Hold - Paused temporarily - Completed - Work finished - Archived - Historical, read-only
Phase: - Planning, Design, Construction, Completion - For reporting and filtering - Optional field
Address: - Full location including postal code - Used in reports and navigation links - Optional but recommended
Currency: - EUR (default), USD, GBP, etc. - Used in cost fields and reports - Can be changed anytime
Storage Path (Cloud Storage Path):
- Configure which folder in your cloud storage (Dropbox/OneDrive) syncs for this project
- Format:
/Projects/BuildingName(use forward slashes, start with /) -
How to find:
-
Open Dropbox or OneDrive in your browser
- Navigate to the project folder
- Copy the path from the URL: For Dropbox after
/home/, for OneDrive after/Documents/ - Example Dropbox URL:
https://www.dropbox.com/home/Projects/BuildingA→ Use:/Projects/BuildingA -
Example OneDrive URL:
https://onedrive.live.com/?id=Documents/Projects/BuildingA→ Use:/Projects/BuildingA -
Important: Cloud storage must be connected first via Settings → Company Settings → Cloud Storage Integrations
- Leave empty if not using cloud sync for this project
Email Folder Path:
- Configure which Outlook folder is automatically processed for this project
- Format:
/Inbox/Projects/BuildingNameor/Archive/Projects/BuildingName(use forward slashes) -
How to find:
-
Open Outlook (desktop or web)
- View your folder structure on the left side
- Note the full path from Inbox or a root folder
- Replace spaces and use forward slashes
-
Example: Folder "Inbox → Construction Projects → Building A" → Use:
/Inbox/Construction Projects/Building A -
Important: Email integration must be connected first in your user settings (Settings → Integrations → Connect Outlook). This is per-user - each team member connects their own Outlook account.
- How it works: Emails you move to this Outlook folder are automatically processed
- Leave empty if not using email integration for this project
Visibility: - Team Only - Only invited members (default) - Organization-wide - All company users can view
Team Management
Control who has access to a project and what they can do using the Team tab in Project Settings.
For a full explanation of roles, permissions, and best practices, see the Admin & Team Management Guide →.
Cloud Storage Integration
Use the Integrations tab in Project Settings to connect Dropbox or OneDrive to a project.
For step‑by‑step instructions on connecting, changing, and troubleshooting cloud storage, see:
Project Overview Page
Your project overview with important information and quick access.
Displays: - Project metrics (documents, actions, issues, questions) - Progress bar (completed, overdue, remaining) - Upcoming tasks - Recent documents and emails
Understanding the Project Overview
Project Metrics
Each project card shows: - Documents - Number of uploaded documents - Actions - Number of open action items - Issues - Number of open issues - Questions - Number of open questions
Progress Bar
Visual display of item status: - Green - Completed items - Red - Overdue items (past deadline) - Blue - Remaining open items
The bar shows the ratio between these statuses for a quick overview.
Upcoming Tasks
Shows the next 3 tasks with deadlines: - Task title - Due date - Click on project card to view details
Recent Documents and Emails
Shows the last 3 documents or emails that were uploaded or processed: - Document name or email subject - Date of upload/processing - Type (document or email)
Click on project card: - Open project details - View all items - Manage team members - Configure settings
Daily Operations
Common tasks you'll perform regularly.
Creating Items
Multiple methods available:
- Overzichtspagina → + New Item
- Items page → + New Item
- Mobile app → + button
- Voice capture (mobile)
- Session recording (mobile)
See Creating Items for complete guide.
Adding Plans (Floor Plans and Drawings)
Plans are automatically synced from your cloud storage (Dropbox/OneDrive) when you configure the Cloud Storage Path in project settings.
How to add plans:
- Upload floor plans or drawings to your project folder in Dropbox/OneDrive
- Supported formats: PDF, PNG, JPG
- Recommended: PDF format for best quality
- SiteWhiz automatically detects and syncs the files
- Plans appear in the Plans tab of your project
- Use the plan viewer to pin items to specific locations
Best practices: - Use clear, descriptive filenames (e.g., "Ground_Floor_Plan.pdf") - Organize plans in subfolders if you have many - Ensure plans are high resolution for better viewing on mobile
See Mobile App Guide → for details on using the plan viewer.
Adding Documents
Documents are automatically synced from your cloud storage (Dropbox/OneDrive) when you configure the Cloud Storage Path in project settings.
How it works: - Files automatically appear from connected Dropbox/OneDrive - See Cloud Storage Integration section above for setup
Viewing Reports
Reports are automatically generated from: - Mobile voice sessions (session reports) - Uploaded PDF reports (automatic extraction)
- Navigate to Reports page
- View list of all reports
- Click on a report to view details
See Reports for details.
Asking Questions (AI Assistant)
- Click Chat icon or tab
- Type or speak your question
- AI searches project documents and items
- Answers with citations
- Click citations to view source
See AI Assistant for details.
Archiving and Closing Projects
When a project is complete.
Steps:
- Project Settings → General
- Change Status to Completed
- Optional: View final report
- Optional: Archive (Status = Archived)
What happens when archived: - Read-only access (no editing) - Still searchable - Included in historical reports - Can be reactivated anytime
Deleting projects: - Only Owner can delete - Requires confirmation - Permanently removes all data - Cannot be undone - Consider archiving instead
Troubleshooting
For detailed troubleshooting for projects, including creation, team access, cloud sync and more, see the Troubleshooting Guide →.